
Hobi Foto Macro dengan Smartphone? Silahkan Lihat Contoh Gambarnya disini

Foto: rendychaniago.com Htc Desire 826
Rendy Chaniago.com- Macro photography is one of the most popular forms of photography, and with good reason. It is easily accessible, and it is a very broad genre of photography.

Foto: rendychaniago.com Htc Desire 826
Studio pros can enjoy taking macro shots of leaves, flowers, and sluggish insects, maintaining total control over lighting. Nature lovers can spend hours outside, searching for hidden treasures among flowers and leaves. Plus, in non-photogenic locations, like many people’s backyards, macro photography makes it possible to take great images of nature without traveling at all. In this article, I will provide some tips and ideas to help you take your macro photography to the next level.

Foto: rendychaniago.com Htc Desire 826
Along with all the benefits of macro photography, there are some technical hurdles that you must cross. Physics comes into play in macro photography in ways that are not as relevant to other genres, which is the main reason why I wrote this guide — I hope to clear up the most intimidating aspects of macro photography for beginners, and perhaps suggest some tips for seasoned macro photographers along the way.

Foto: rendychaniago.com Htc Desire 826
RATIOS
Way back in film days macros used to have ratios. (they still do, but we don’t discuss them, as much). So, in order to understand where macro started, I wanna talk just a little bit about ratios.
The Ration (or Macro Ratio) is the difference in size between the “real” size of the subject and the size that subject was caught on film. Let say that you shot a 3 centimeters hornet, if roughly filed your 35mm frame you shot a 1:1 ratio. If it only filled half the frame you shot 1:2 ratio, and if you only got its head, it is 2:1 ratio.
To make things non technical, let’s just say that the ratio is, the larger magnification it means.
EQUIPMENT
Eyes of a Holcocephala fusca Robber FlyIf you are just starting with macro photography there are several ways to do it on the cheap (and of course it provides a great opportunity to justify a mega-dollar investment in gear 🙂
But before going into what gear you need, let’s talk about why you need more gear.
The main piece of gear you would need for macro is the optics. And to understand why you need different optics I want you to run a short experiment.
Focus your camera to infinity and look right through the lens. Now slowly move the focus ring so your camera focuses closer and closer. You’ll see that the elements inside the lens are moving away from the sensor.
Since in macro photography the subject is very close to the lens, you would need a lens that can move pretty far away from the sensor. For the sake of this post, I’ll just say that the nodal point is moving away from the lens.
Now, most lenses cannot focus that closely for several reasons:
The elements inside the lens are optimized for “regular” shooting and cannot deliver high quality when the nodal point is too far from the lens
As the nodal point gains distance from the sensor, less light is hitting the sensor. If the lens was rated at, say. f/1.8 for “regular” photographs, it may not be able to deliver f/1.8 when the nodal point is that far away from the sensor.
LENSES
The first and obvious choice is macro lenses. Both Canon and Nikon sell decent macro lenses that can be used both for macro and for general photography.
Those lenses are optimized for shooting at close focusing distances, so they are less limited in terms of getting the nodal point away from the sensor.

Foto: rendychaniago.com Htc Desire 826
EXTENSION TUBES
macro guideThe other most common way to provide macro functionality to a system is by adding macro extension tubes (circa $60).
Macro tubes are circular elements that connect between the camera and the lens. They kinda look like expensive toilet paper rolls. The rings have no optical elements so they do not take any quality away from the photograph. In fact you can even build macro tubes yourself using Pringels or similar tubes.
Most tubes come in packs of three, allowing for 7 different combinations of extensions, which in turn allows for 7 different shooting distances.
The only downside with the tubes is that they take light away. As the front element of the lens gets away from the sensor the circle it casts on the sensor gets smaller and less light enters. So what you could shoot at F/8 with no extension tube, you may now have to shoot at f/2.8. reducing your depth of field.
Most new tubes have the electrical connection to let commands from the camera to the lens, so you can control aperture and get focusing feedback. Just make sure you get the one fitting your system.

Foto: rendychaniago.com Htc Desire 826
FILTERS
In my opinion macro filters represent the low end of quality when it comes to macro photography. And to be terribly blunt those are just fancy named magnifying glasses. As with the extension tubes those come in multi-pack where each filter supplies a different amount of magnification. And as with the filters you can stack those to get increasing macro power.
But, here is the thing, with each macro filter you stack on your lens, you get just a little bit less quality, and stacking a few well… just not worth it in my opinion.
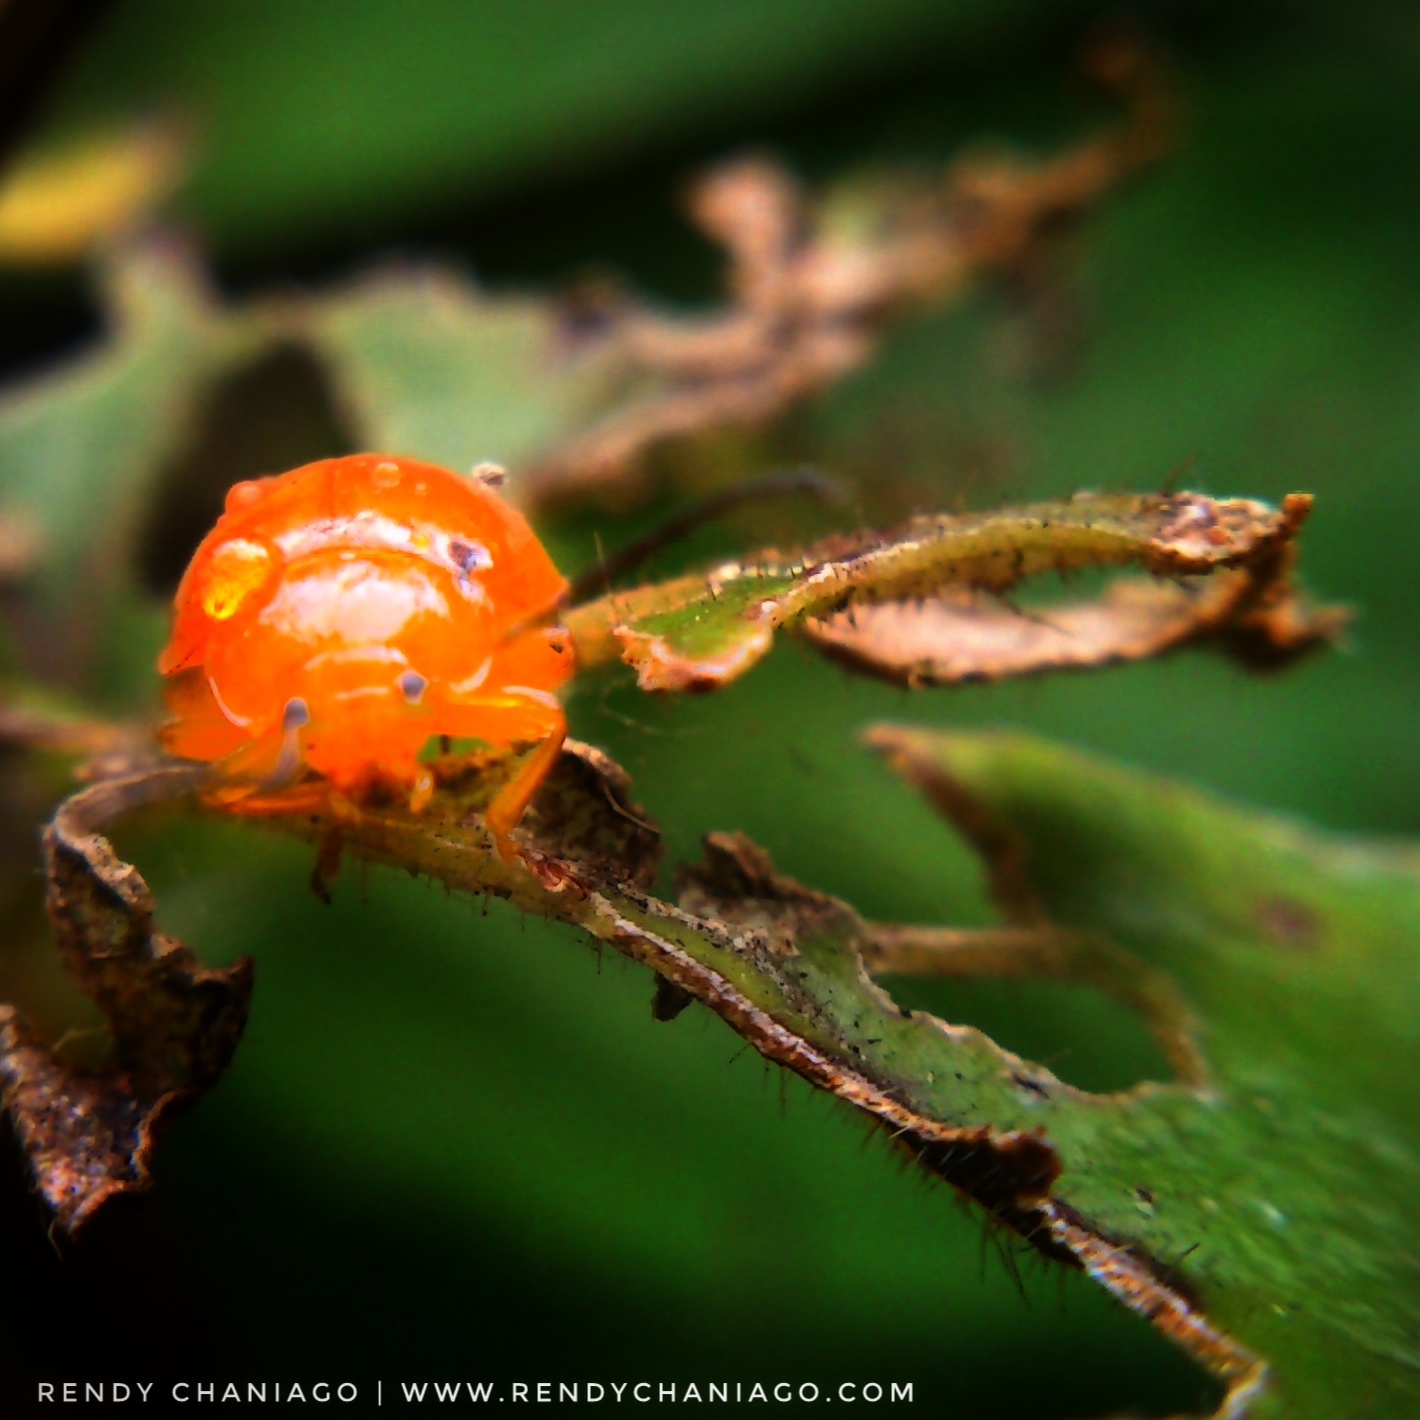
Foto: rendychaniago.com Htc Desire 826
REVERSE LENS
macro guideReversing a lens is another inexpensive way to gain macro abilities. A lens is typically reversed with a reversing ring, but if you are more concerned with fun than quality, you could definitely free-lens the thing or DIY it.
Lenses are symmetrical in the sense that a beam of light that travels from the world to the camera can, in theory travels from the inside of your camera to the world. This is how projectors work.
This is also, how reversing a lens works for macro. Instead of taking big things (e.g. models) and projecting them onto the relatively small sensor, it take small things and projects them onto the (now) relatively big sensor.
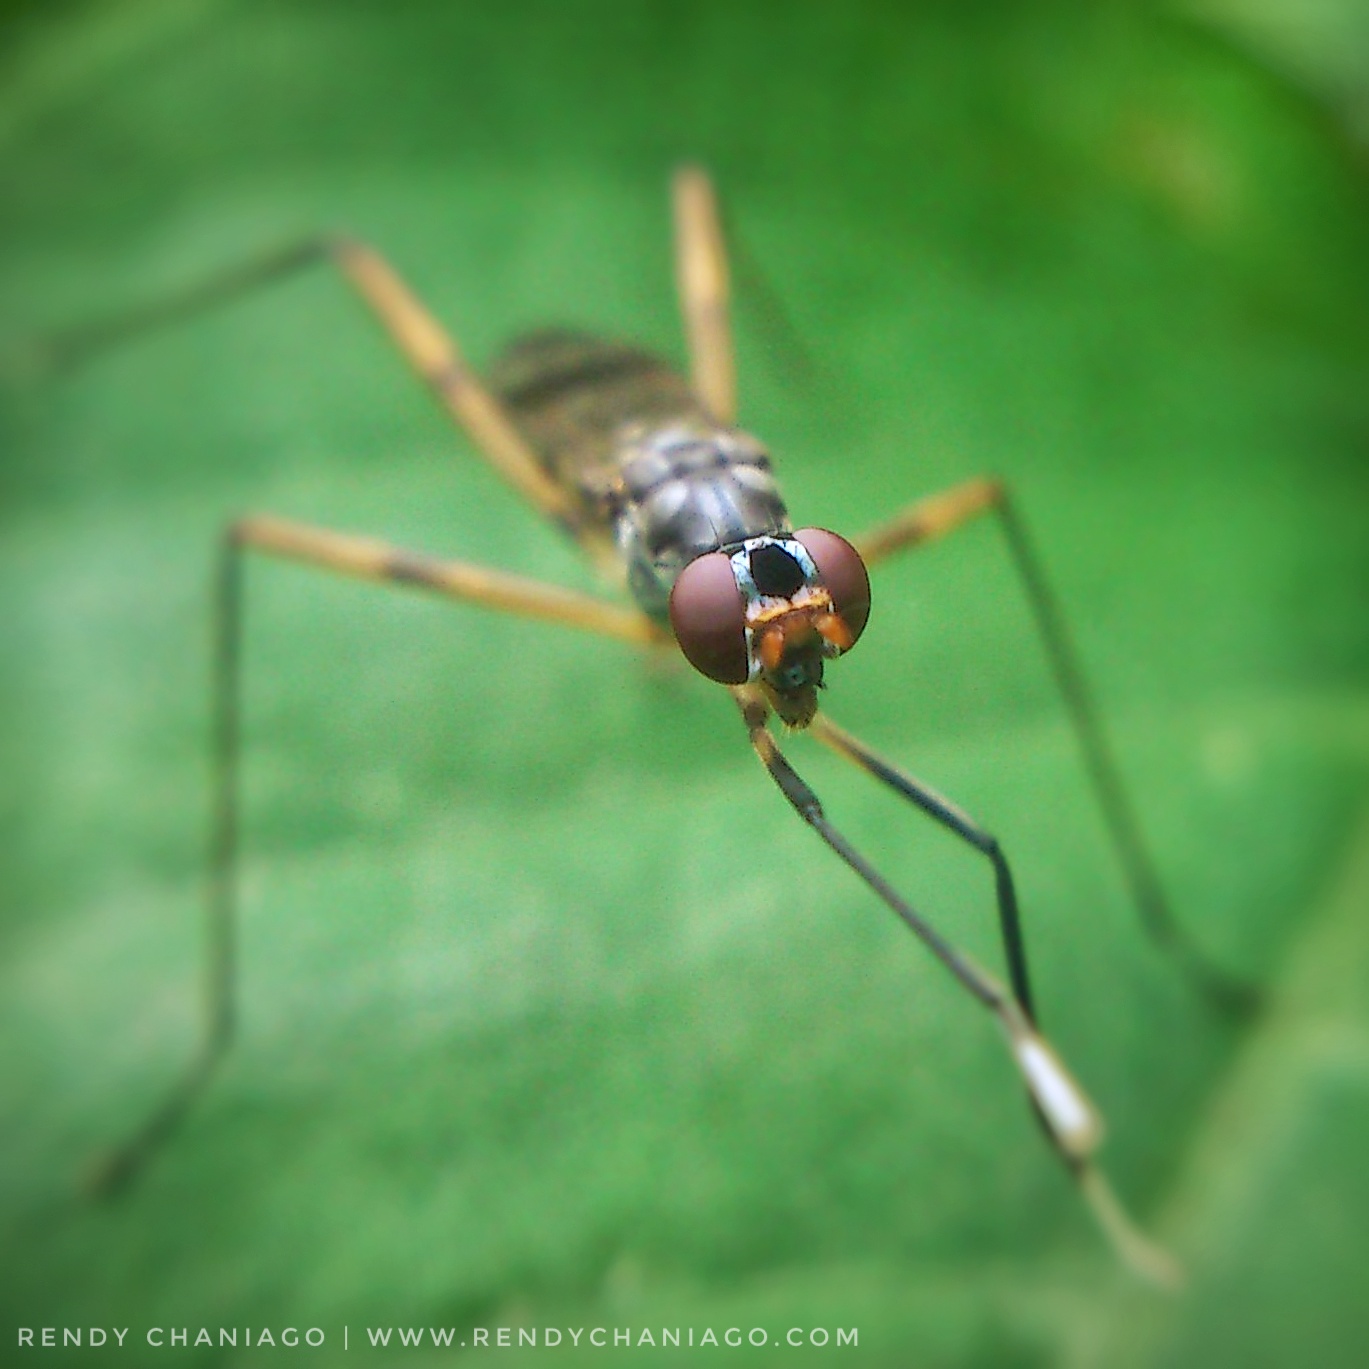
Foto: rendychaniago.com Htc Desire 826
DOUBLE LENS
Using two lenses is also one of the cheaper way to macro. Especially if you are using lenses you already own.
The principle behind this idea is similar to the one that microscopes use. The first lens creates the image and the second one makes it bigger. You connect the lenses using a coupling ring and step-up rings if needed.
The enlargement ratio can be calculated by dividing the focal lengths of the two lenses. For example, using a 300mm lens reversed on a 50mm lens will produce X6 magnification.
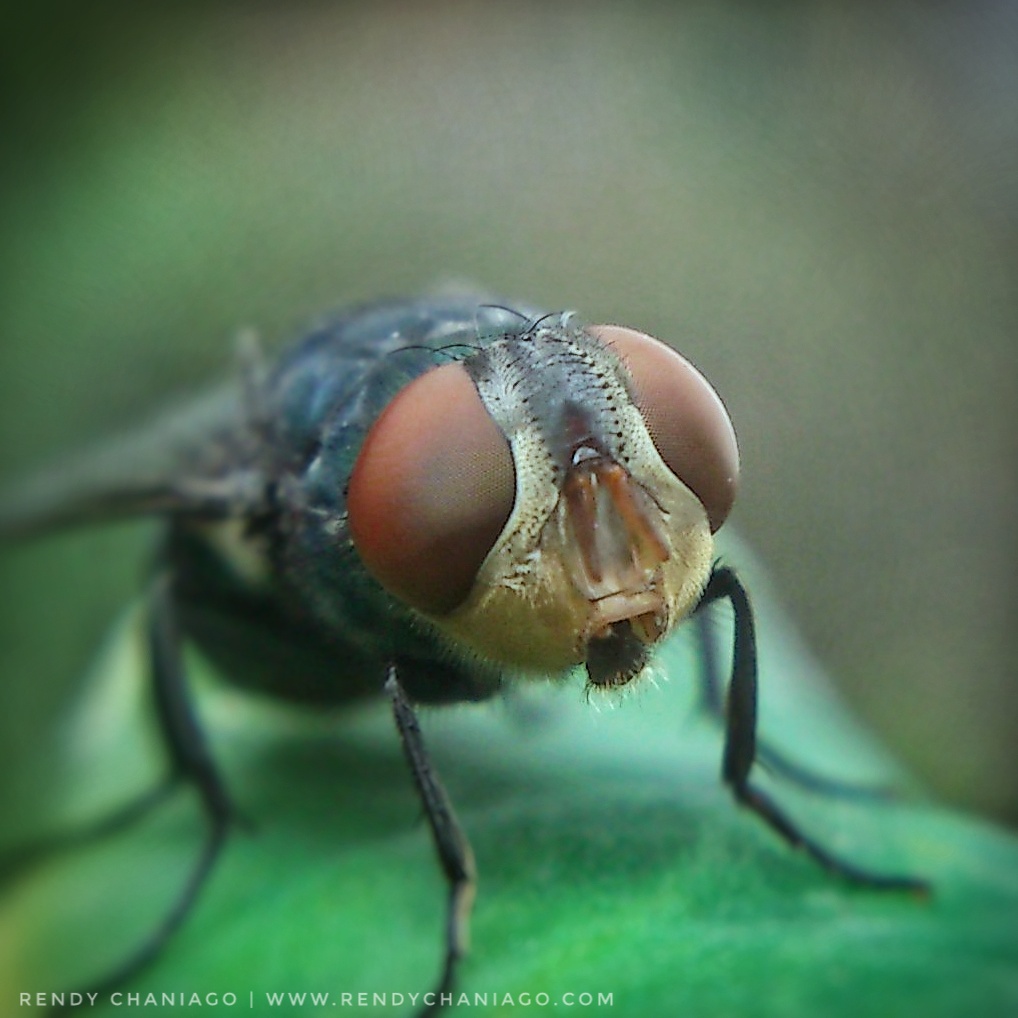
Foto: rendychaniago.com Htc Desire 826
DVD LENSES
Ok, this one is not for the serious macro photographer, but if you’re just looking for a bit of experimentation you should check out how to take macro pictures with a DVD lens and your cellphone.

Foto: rendychaniago.com Htc Desire 826
TRIPOD
When you shoot macro you have a very limited depth of field, sometimes as narrow as 0.5 millimeters. with that shallow depth of field every change in the camera to object distance is crucial and can throw the subject into the blurred zone so you wanna make sure that both the subject and the camera stays still, and what better ways you have to fix your camera than a tripod?

Foto: rendychaniago.com Htc Desire 826
LIGHTING FOR MACRO
After discussing how narrow is the depth of field in macro shots, you may think that stopping the lens down may be a good idea, right?
If at f/1.8 the DOF is 0.5 millimeter, at f/8 it may extend to 2 millimeters, not a lot bet definitely more than half a mil. The problems is that you are also losing light.
Take that loss and combine it with the loss of light you may already have from all those filters and extension tubes and you are facing a problem.
Luckily there is a way to overcome the lack of light: Strobes.
Strobes put out lots of light. Actually if you are getting your strobe very close to your subject you may have to dial it down to the 1/64th or 1/128th of full power. (or in lack of better electronics, mute it down with some tissue).
If you are shooting with a strobe, one of the challenges is removing shadows. One option is to place a diffused strobe pretty close to the subject, and another is using a ring flash.

Foto: rendychaniago.com Htc Desire 826
MACRO AND FOCUSING
Golden TipsMaybe the first thing that every macro guides mentions (and we are no different) is that you would want to manual focus your camera. With depth of field of milliliter millimeter, maybe less, you want to make sure that it is you who are calling the creative calls (i.e. what’s in focus) and not the location of the focus sensor in your camera.
Here is a process that I find useful for taking macro shots:
Position the camera and the object. As we discussed, the camera needs to rest on a tripod and it would be best if your subject is in a place where it does not move too much. Depending on how strong your magnification is, the lens will be stuck up pretty close to the subject now.
Get the scene roughly in focus. Frame and compose.
If you have live view on your camera turn it on and magnify as much as you can. Now use manual focus to adjust until you have focus where you need it.
MOVE THE OBJECT NOT THE CAMERA
Remember we said the camera lens will be very close to the subject? Re-framing by moving the camera can get quite difficult. It may be easier to move your subject.
Say you are shooting a flower, set on a plate. More specifically, you are shooting the stigma or the ovary of a wonderful Orchid. (I am really not sure why you’d wanna place an Orchid on a plate, but play with me).
Now you wanna re-frame the orchid so the ovary is just 3 millimeters to the left. It would be pretty hard to move the camera in the slightest angle to achieve that. It will probably be a lot easier to slightly push the place. Just remember to re-focus.
MACRO RAILS
macro guideIf you are still wanting to try and move the camera rather than the subject there is yet another piece of gear you may want. It is called Macro Rails.
Macro Rails are a device similar to big vice. You turn a knob in a circular motion to make the camera move back and forward/left and right.
Since each full turn of the knob moves the camera just a tiny bit you keep control over the frame.
Of course you don’t have to go out and buy one if you have the patience to build one yourself.
FOCUS STACKING
macro guideSo we have shallow depth of field, how do we get over it? The good news is that it is completely doable. The bad news is that overcoming shallow depth of field requires work.
Focus Stacking is a method that combines the focused areas from a sequence of images.
Consider a scenario where you take a picture of a lady bug. Depending on where you had your focus, you had to make a choice either the head is in focus, the wings or the tail. What if you could take three shots and combine them into one photograph where everything is in focus?
This is exactly what focus stacking does. In focus stacking you take lots of images each focuses on a different part of the lady bug (or different distance from the camera). Then You take all the images and let a piece of software combine them.
Sumber; DIY
0 Response to "Hobi Foto Macro dengan Smartphone? Silahkan Lihat Contoh Gambarnya disini"
Posting Komentar